

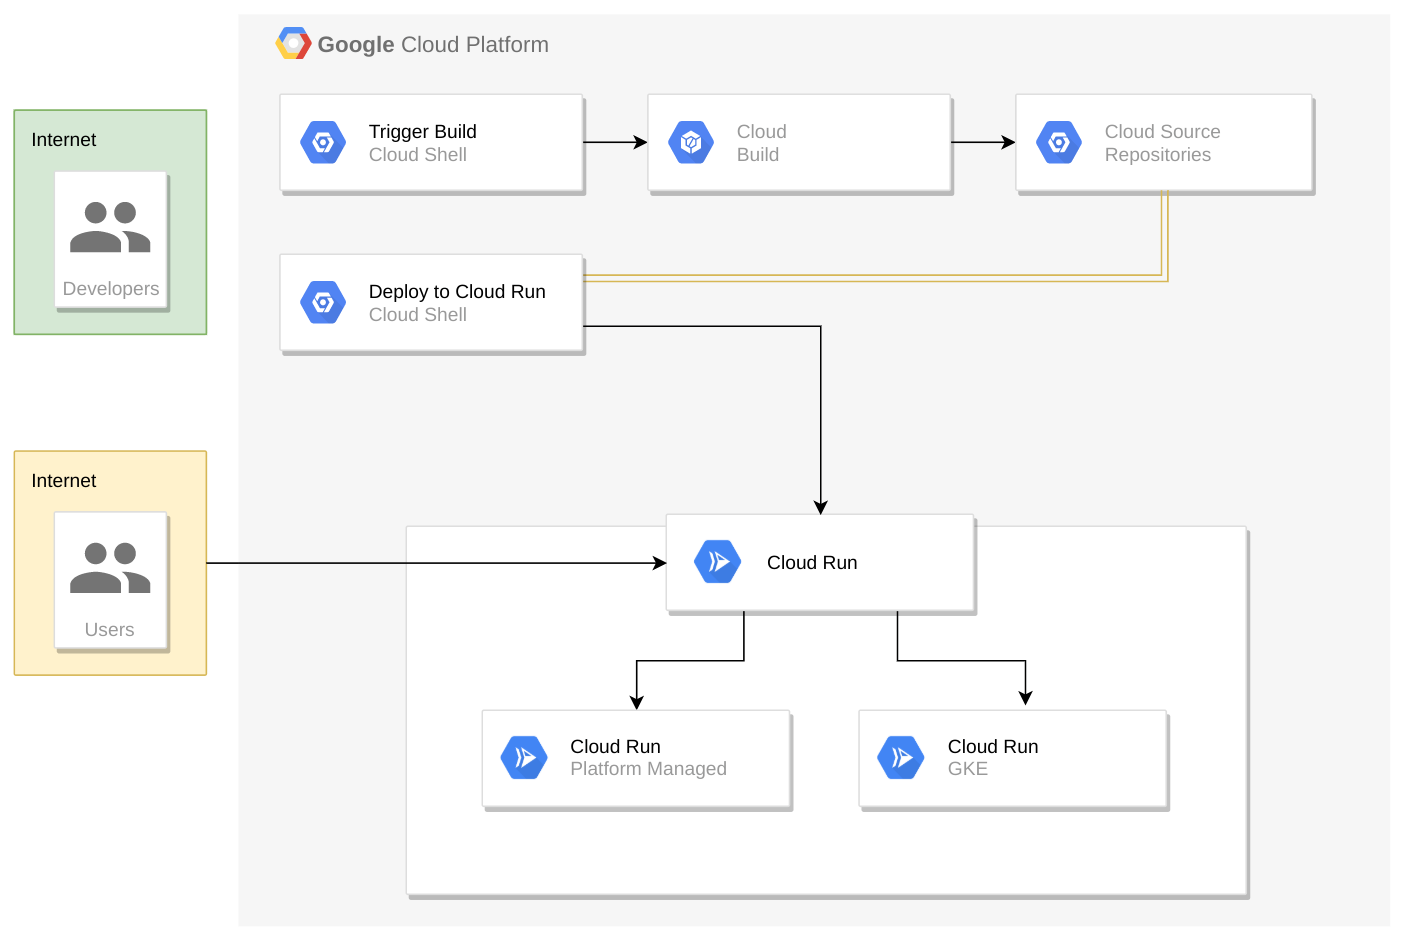
With Cloud Run we can handle and deploy your website without any overhead infrastructure we face with a VM or Kubernetes deployment via the Google Cloud’s KNative platform. This is not only an easier management strategy but also helps you to scale to zero when there is no requests.
Cloud Run offers containers for a ‘server-free’ development that can be run on GKE clusters or a completely managed Cloud Run PaaS Solution. Here we are going to use Cloud Run.
Here, We will
- Using the Cloud Run container
- Build an infrastructure Docker container
- Adjust the platform
- Explore a recent zero downtime edition
Clone Source Repository
Run the following commands to clone the git repo to Cloud Shell instance and change to the appropriate directory.
Install the NodeJS dependencies and test the application before deploying:
git clone https://github.com/googlecodelabs/monolith-to-microservices.git

cd ~/monolith-to-microservices

./setup.sh
Test application by running the following command to start the web server:
cd ~/monolith-to-microservices/monolith
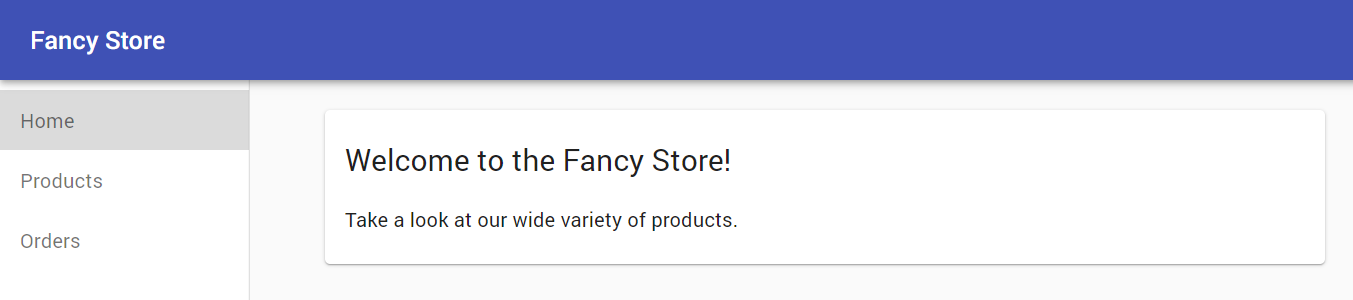
npm startPreview application by clicking the web preview icon and selecting Preview on port 8080.
This should open a new window where we can see your Fancy Store web page in action like this
To view your build history, or watch the process in real time, in the Console, from the Navigation menu click Cloud Build > History. Here you can see a list of all your builds; there should only be 1 that you just created.

If you click on the Build ID, you can see all the details for that build including the log output.
From the Build Details page you can view the container image that was created by clicking the Execution Details tab, then clicking on on the image link.
Deploy Container To Cloud Run
Now that you have containerized your website and pushed the container to Container Registry, it is time to deploy to Cloud Run!
There are two approaches for deploying to Cloud Run:
- Managed Cloud Run: The Platform as a Service model where all container lifecycle is managed by the Cloud Run product itself. You’ll be using this approach in this lab.
- Cloud Run on GKE: Cloud Run with an additional layer of control which allows you to bring your own clusters & pods from GKE. You can read more about it here.
Command-Line
We will deploy the image that was built earlier, and choose the managed version of Cloud Run by specifying --platform managed.
First We need to enable the Cloud Run API. Run the following command to enable it:
gcloud services enable run.googleapis.comRun the following command to deploy application:
gcloud run deploy --image=gcr.io/${GOOGLE_CLOUD_PROJECT}/monolith:1.0.0 --platform managedSpecify region to run in. Type the number for the region closest.
Accept the default suggested service name (it will be “monolith”) by pressing Enter.
Allow unauthenticated requests into the application. Type “Y” at the prompt:

Verify deployment
To verify the deployment was created successfully, run the following command:
gcloud run services list
This output shows several things. You can see the deployment, as well as the user that deployed it (your email) and the URL you can use to access the app. Looks like everything was created successfully!
Click on the URL provided in the list of services. You should see the same website you previewed locally.
Helpful Hint: You can also view your Cloud Run deployments via the Console if you navigate to Cloud Run in the Navigation menu.
Create new revision with lower concurrency
By default, a Cloud Run application will have a concurrency value of 80, meaning that each container instance will serve up to 80 requests at a time. This is a big departure from the Functions-as-a-Service model, where one instance handles one request at a time.
Re-deploy the same container image with a concurrency value of 1 (just for testing), and see what happens:
gcloud run deploy --image=gcr.io/${GOOGLE_CLOUD_PROJECT}/monolith:1.0.0 --platform managed --concurrency 1Answer the subsequent questions just as previous. Once the command is successful, check the Console to see the result.
Update website with zero downtime
It is time to update the website without interruption to the users.
Cloud Run treats each deployment as a new Revision which will first be brought online, then have traffic redirected to it. By default the latest revision will be assigned 100% of the inbound traffic for a service. It is possible to use “Routes” to allocate different percentages of traffic to different revisions within a service.
Follow the instructions below to update website.
From Cloud Shell, re-deploy the service to update the image to a new version with the following command:
gcloud run deploy --image=gcr.io/${GOOGLE_CLOUD_PROJECT}/monolith:2.0.0 --platform managedVerify Deployment
gcloud run services describe monolith --platform managed✔ Service monolith in region us-east1
https://monolith-k3wa45c54a-ue.a.run.app
Traffic:
100% LATEST (currently monolith-00003-ten)
Last updated on 2020-02-20T20:26:56.049Z by student-03-e32055b0be3a@qwiklabs.net:
Revision monolith-00003-ten
Image: gcr.io/qwiklabs-gcp-03-b1646832ec74/monolith:2.0.0
Port: 8080
Memory: 256M
CPU: 1000m
Concurrency: 1
Timeout: 900s